Updated for Divi 5: I imported Happily into Divi 5 and it converts automatically: the section dividers, fonts, hover effects and mobile tweaks all still work. It still works in Divi 4, too.
A free Divi layout for your wedding website
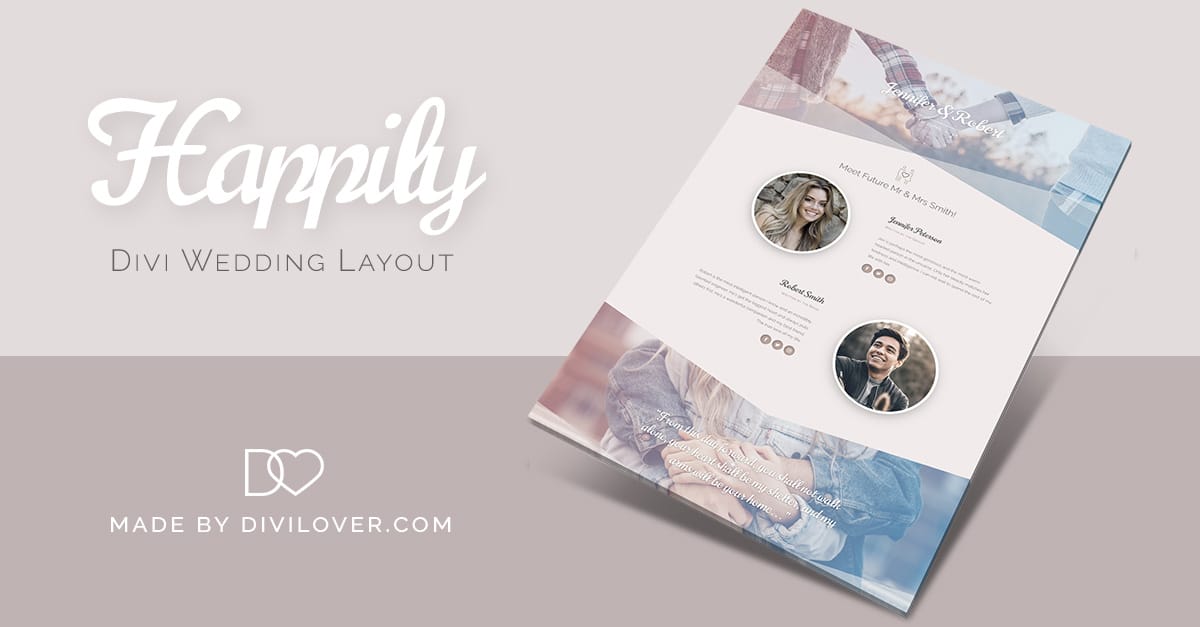
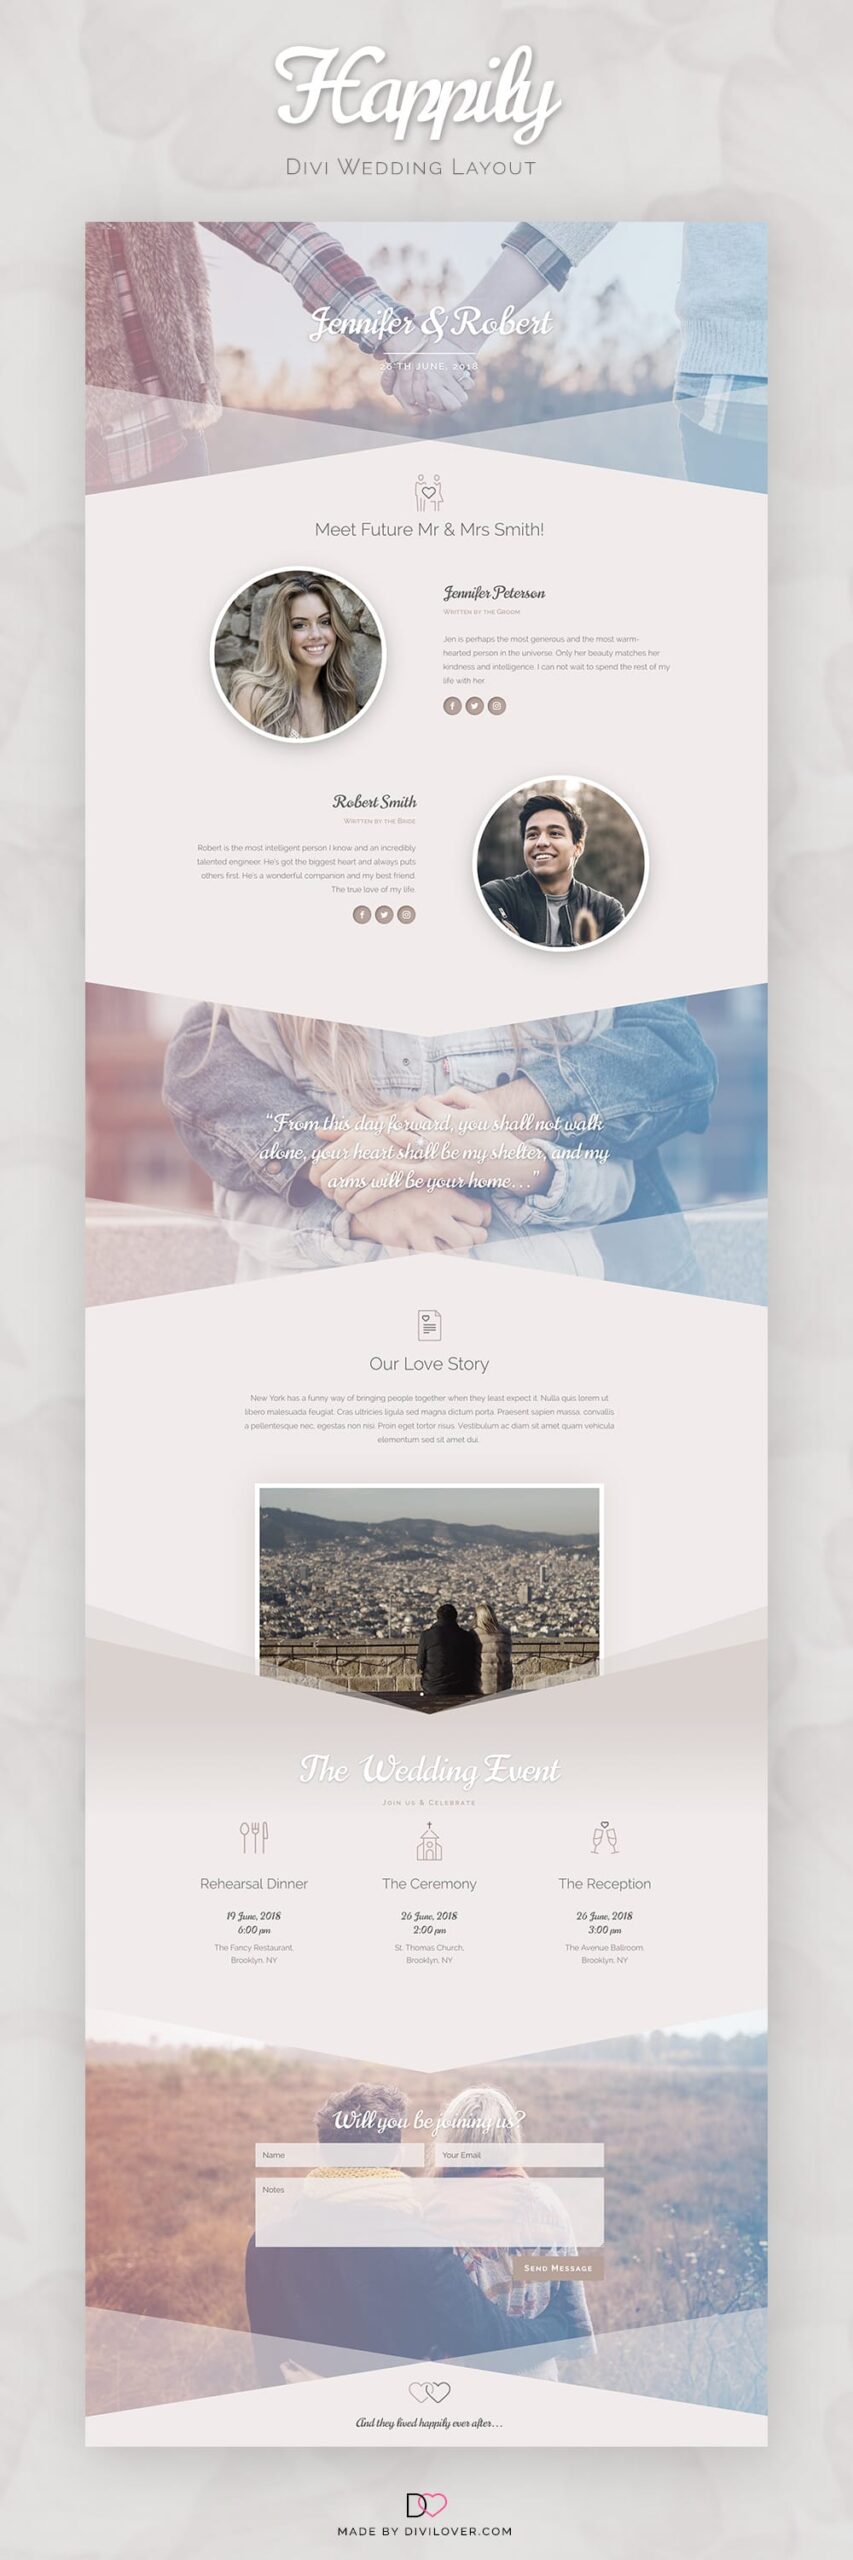
Happily is a free one-page Divi layout for a wedding website: the couple’s names and date, a short intro of the bride and groom, your love story, the event schedule, a photo gallery and an RSVP form.
Happily is a free Divi layout made for all the lovely Brides and Grooms out there, who are looking for a simple way to connect with their wedding guests.
Happily is a responsive Divi layout with a clean, elegant design and a beautiful color combination and custom wedding icons. It can be used as a complete wedding website.
Want to see it first? Take a look at the live preview.
Free download
Happily Wedding Page Layout
A one-page wedding website layout with a couple intro, event schedule, gallery and RSVP form. Works in Divi 5 and Divi 4.
Get the free downloadWhat’s inside the Happily wedding layout?
The layout has a hero with the couple’s names, an intro of the bride and groom, a quote, your love story with a photo gallery, the wedding event schedule and an RSVP contact form. Here are the details that make it work.
A hero with the names of the happy couple
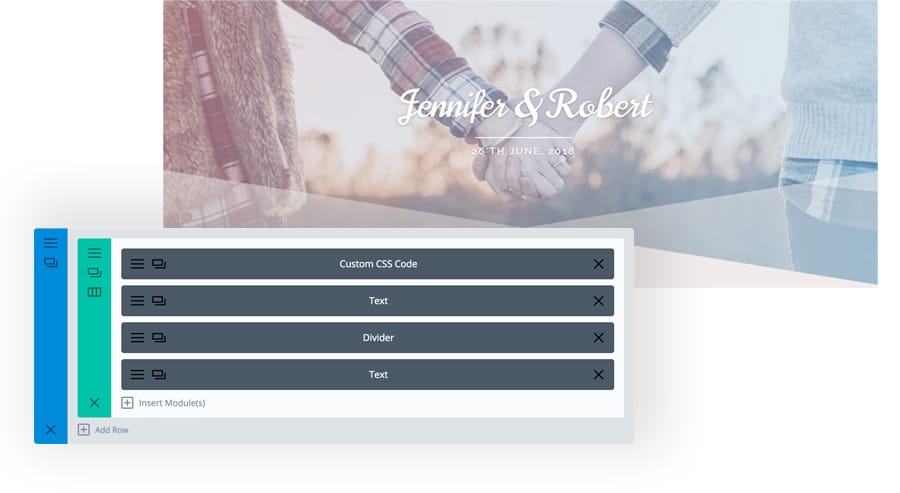
In the first section you’ll find 4 modules: Code with some custom CSS, Text (the main heading with the names of the happy couple), Divider (the line underneath) and Text (the date of the event). You can move the CSS code to the Page Settings (in Divi 5: the gear icon in the top-left corner → Page Settings → Advanced → Custom CSS), to Divi Theme Options (Custom CSS field) or to your child theme stylesheet, whichever works best for you.
The main image is set as a section background. It has a gradient overlay and the blending mode is set to Screen, so you can play around with those settings and see what works best for your own image.
Great mobile optimization
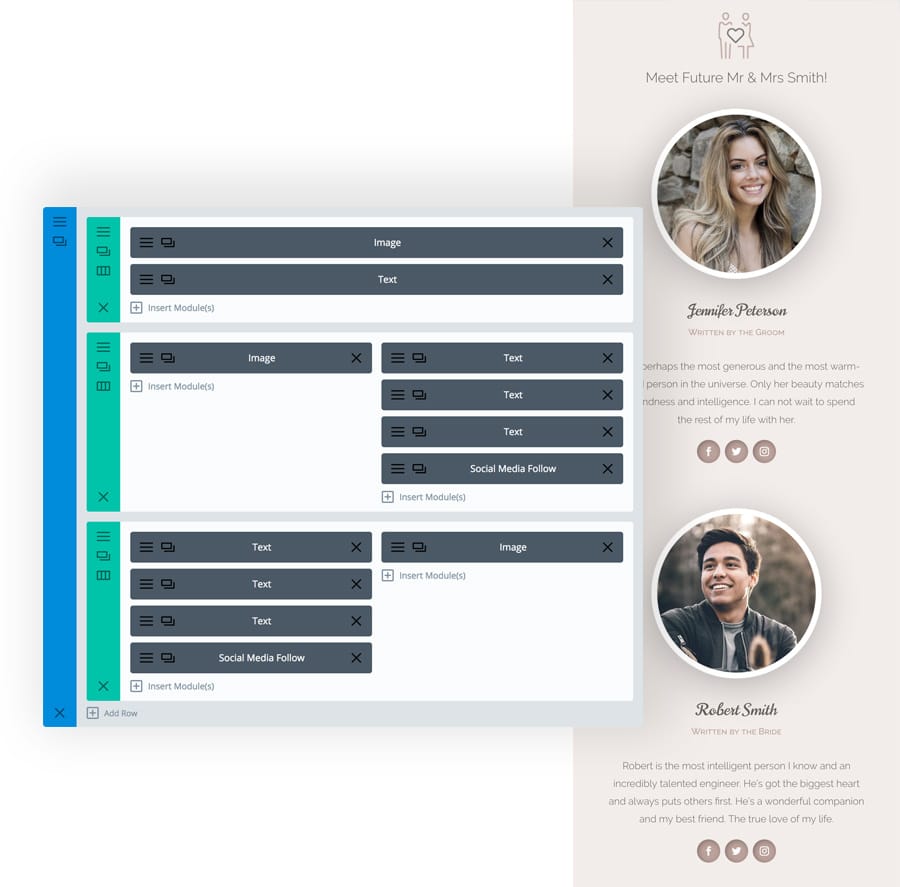
The second section uses some custom CSS for a better mobile view. The Groom row uses a reverse-column technique to display the right column with the image before the left one with the text on smaller screen sizes. All of the Text modules and Social Follows are centered on mobile, and aligned right/left on desktops. I checked this in Divi 5 on a phone-sized screen: the photo still shows above the text.
Fancy section dividers
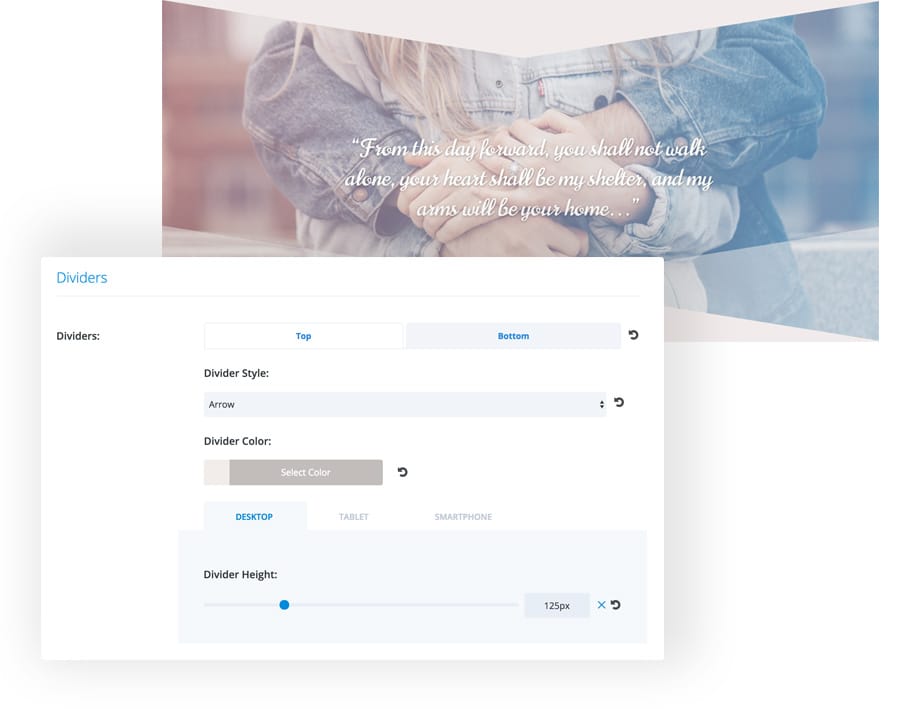
The Happily layout uses Divi’s section dividers (the angled shapes between the sections). They are a built-in setting of every section (Dividers in the section’s Design settings), and they come through the Divi 5 conversion unchanged.
A photo gallery
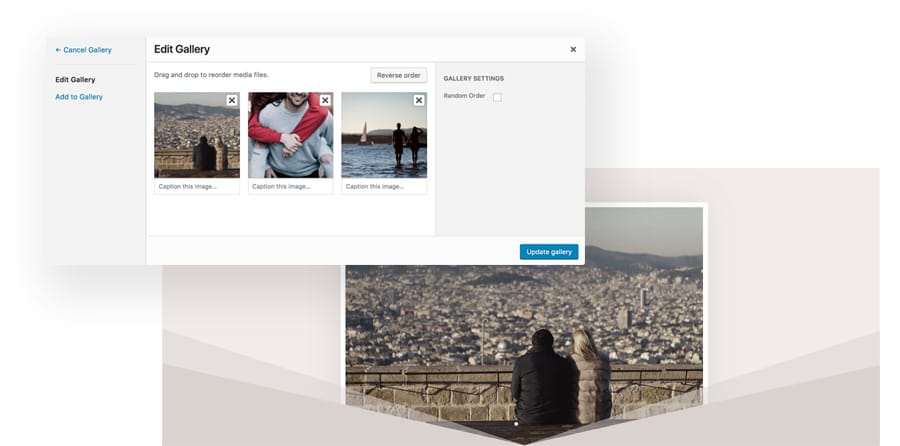
The images inside the Gallery module don’t get imported with the JSON file, so you’ll need to add images separately, otherwise the gallery slideshow will be hidden. The download includes the three sample photos in a Gallery Images folder, but of course your own photos will look much better!
Lovely custom icons
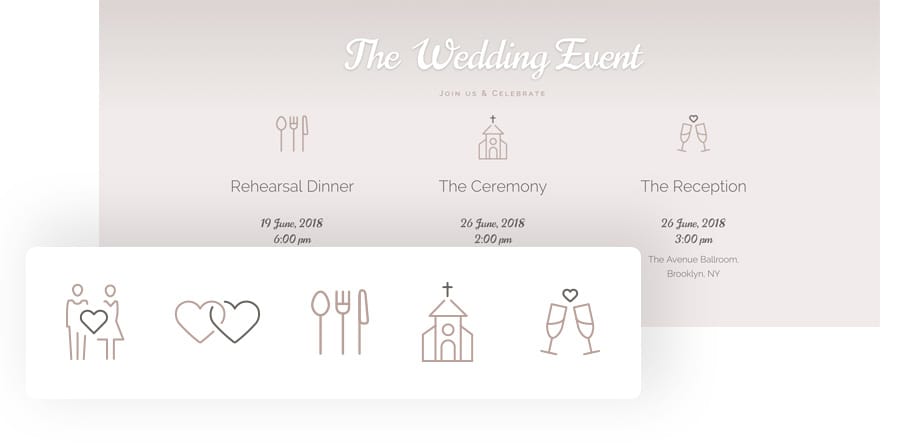
The wedding icons (the dinner, the church, the champagne glasses and more) are simple PNG images in Image modules, so you can swap them for your own in a few clicks.
A great way to connect with your guests
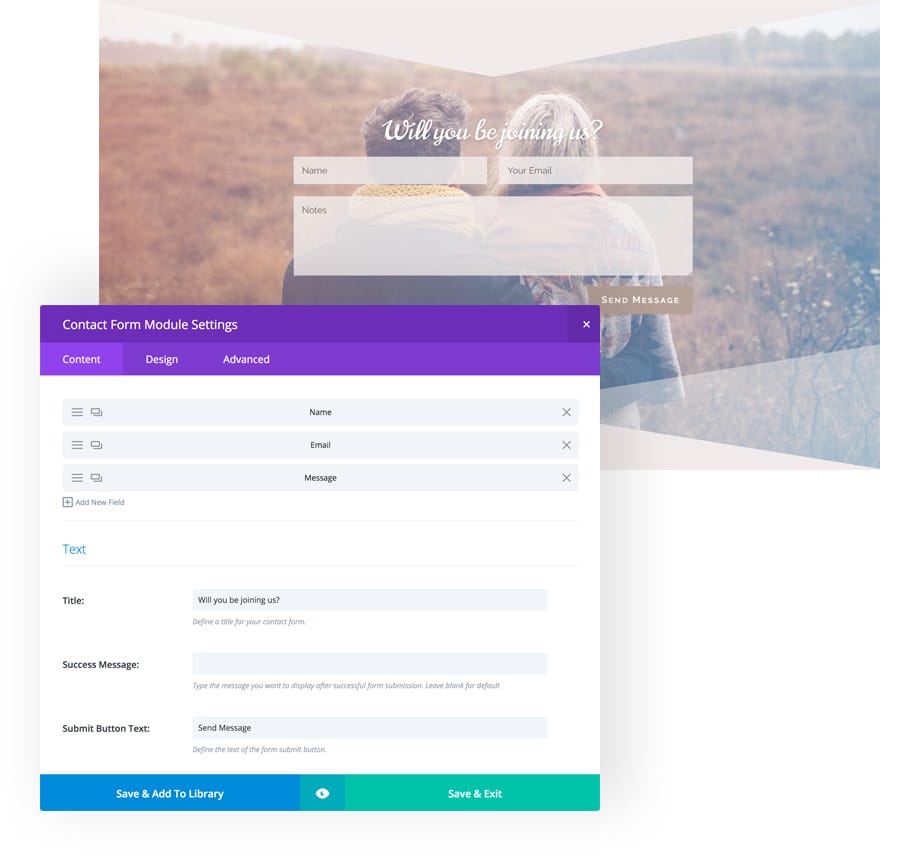
The bottom section includes a pre-styled Contact Form module, which invites the wedding guests to get in touch and gives them an option to quickly send their RSVP. You can easily add additional fields to the form (like the option to choose the meal preference or add the name of the “plus one”). Don’t forget to put your own address in the form’s Email settings, so the RSVPs land in your inbox.
How to import the Happily layout in Divi 5
Unzip the download, then import Happily_Page_Layout.json on a page with the Divi Builder: Divi 5 converts the Divi 4 layout for you.
- Create a new page (or open the one you want to use) and click Edit With Divi.
- Open the gear menu in the top-left corner of the builder and choose Import (in Divi 4: the Portability icon in the page settings bar → Import).
- Choose
Happily_Page_Layout.jsonand click Import, then save the page. - Open the Gallery module and add the photos from the Gallery Images folder (or your own).
- Replace the names, dates, texts and photos with your own, and set your email address in the Contact Form module.
The fonts (Norican, Montez and Raleway) are Google Fonts, so Divi loads them for you. You don’t need to upload anything.
Final thoughts
I hope you enjoy this layout and that it will be useful for your (or your clients’) big day! If you have any questions, ask them in my Divi Lovers Facebook group and I’ll try to answer as best as I can.